( Free · in the browser · no sign-up )
Adjust photo light and color online.
Exposure. Saturation. White balance. Contrast. Shadows. Highlights.
Correct exposure, contrast, temperature, shadows, highlights and saturation with an in-browser preview.
You can also drag and drop one or multiple images in this area.•Accepted inputs: JPEG, PNG, WEBP, GIF and BMP when the browser can decode them. Export is available as JPEG and PNG, and as WEBP when the browser supports that encoding.
Image editing runs in the browser. The site can still make technical requests and, subject to your consent, load measurement or advertising. Read the Privacy Policy.
- 01No installation
- 02In-browser editing
- 03Preview before export
- 04No sign-up
( How it works )
Adjust a photo in 3 steps
- ( 01 / 03 )
1. Open the photo
Choose a compatible file or load the demo image.
- ( 02 / 03 )
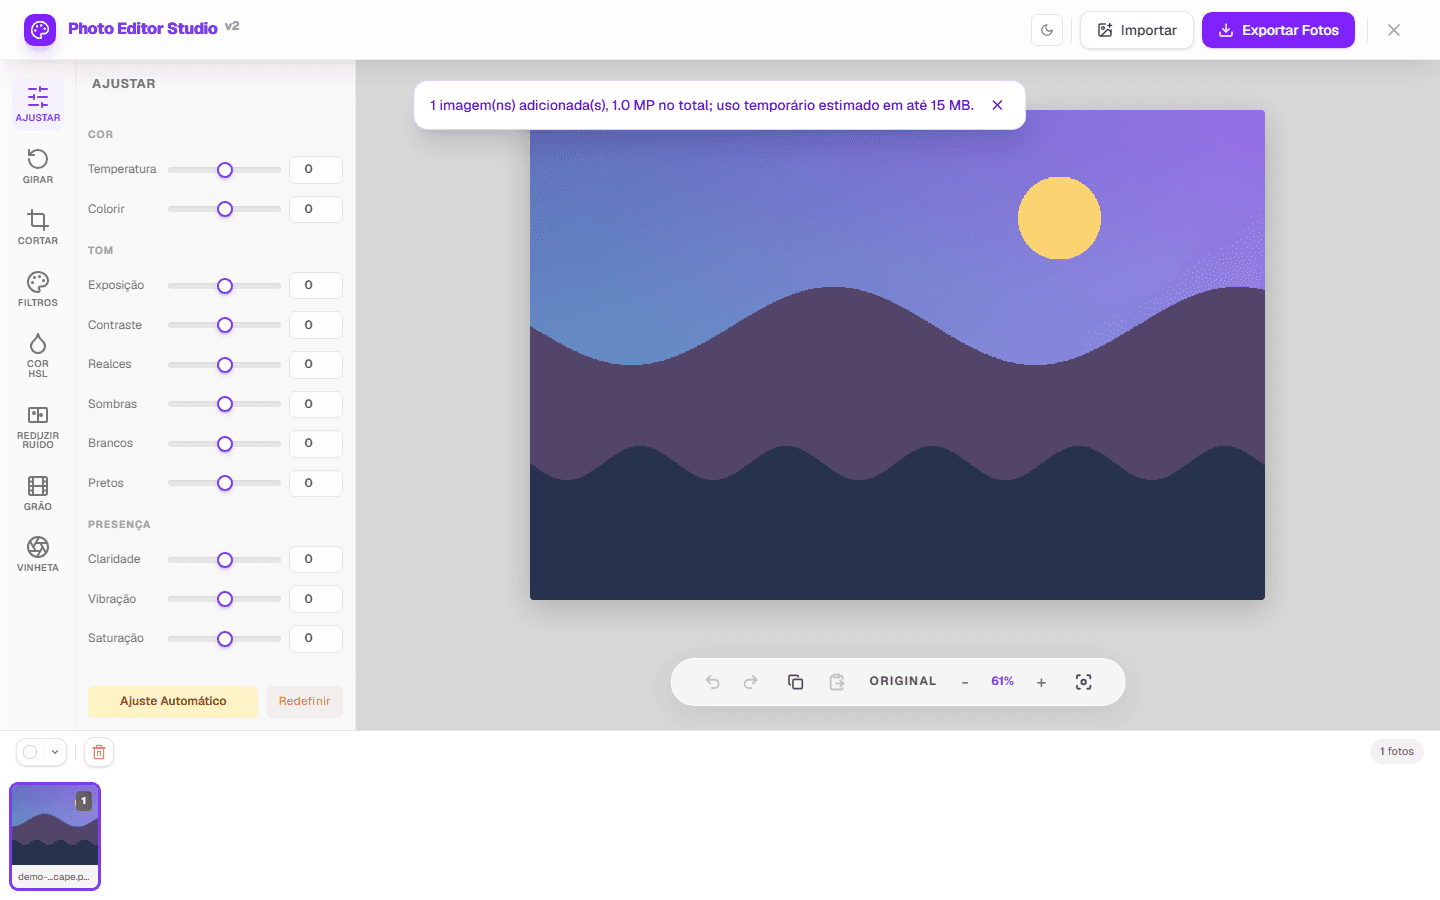
2. Make gradual corrections
Set exposure and tone first, then refine color, clarity and saturation.
- ( 03 / 03 )
3. Compare and export
Check the original and choose the format and optional resize settings.

( The interface )
Current tool interface
( What it does )
Available controls
- 01
Light and contrast
Exposure, contrast, highlights, shadows, whites and blacks.
- 02
Color
Temperature, tint, vibrance and saturation for global corrections.
- 03
Reviewable workflow
Undo, redo and original comparison help review changes before saving.
( What people use it for )
Everyday corrections
- ( 01 )
Dark photo
Raise exposure and shadows carefully to avoid clipping highlights.
- ( 02 )
Warm or cool cast
Use temperature and tint while inspecting neutral areas.
- ( 03 )
Publishing preparation
Finish with format, quality and dimensions suited to the destination.
( Where your pixels go )
( Local processing )
Where your image is processed
The editing itself happens in your browser. When you open a file, the browser decodes it into pixels held in the page's memory, and every adjustment is a computation performed on those pixels by your own device's processor. Export re-encodes the result and hands it to the browser as a download. The image file is not uploaded to an editing server for any of these steps.
That is a statement about image processing, not about the page as a whole. Loading this page is a network request like any other, and the page can make further requests: fonts, scripts, and — subject to the choice you make in the consent banner — measurement or advertising. Those requests carry the information any web request carries. The distinction matters, and the Privacy Policy sets out what is collected and when.
- Decoding, editing and export run on your device, using the browser's Canvas APIs.
- The image file is not sent to an editing server as part of the editing workflow.
- The page itself is served over the network and can load consented measurement or advertising.
- Closing the tab discards the working copy held in the page's memory.
( Questions? Answered )
Frequently asked questions
Is there an automatic adjustment?
Yes, but review the result because every image is different.
Can I preserve transparency?
Yes, with an alpha-capable input and PNG output, or WEBP when the browser supports that encoding. JPEG has no transparency.
Does editing overwrite my original?
No. Export creates a new downloaded file.
( In depth )
Reading a photograph's tones before you correct them
Most photographs that look wrong are not wrong everywhere. They are wrong in a specific tonal region — the shadows are blocked, the highlights are gone, the midtones are flat — and identifying which one saves a great deal of guessing. The controls in an adjustment panel are not interchangeable, and knowing what each acts on is most of the skill.
Exposure and brightness are not the same control
Exposure and brightness both make an image lighter, and they do it differently. An exposure adjustment is multiplicative: it scales pixel values, so it behaves like having let more light reach the sensor. Because it is a multiplication, it moves bright pixels further than dark ones — a value of 200 moved by the same factor as a value of 20 travels ten times as far in absolute terms. Doubling exposure is the digital equivalent of one additional stop.
A brightness adjustment is closer to addition: it shifts values along the scale, moving dark and light pixels by comparable amounts. The visible consequence is that brightness flattens contrast as it lightens, because it compresses the values at the top of the range against the ceiling, while exposure tends to preserve the relationships between tones until it clips them.
This is why the usual advice is to reach for exposure first on an underexposed image and to treat brightness as a finishing control. Exposure restores the tonal structure; brightness lifts everything including the parts that were already correct.
Clipping, and why it cannot be undone
Each colour channel in a standard image file holds a value between 0 and 255. Push a value above 255 and it becomes 255; push one below 0 and it becomes 0. Both cases are clipping, and both destroy information: the pixels that were 260, 300 and 400 all become the same 255, and no later adjustment can separate them again because they are now identical numbers.
Clipped highlights are the more visible failure. A sky that has clipped is a flat area of pure white with no texture, and lowering the highlights afterwards turns it into a flat area of grey — still without texture, because the variation that would have made it a cloud is gone. Clipped shadows behave the same way at the other end, producing areas of pure black where raising the shadows reveals only noise.
The practical rule that follows is to make the large moves while watching the extremes rather than the middle. If raising exposure to fix a dark subject sends the sky to pure white, the correction needs to be split: a smaller exposure change to preserve the highlights, then a shadow adjustment that acts on the dark regions without touching the bright ones.
What the four tonal controls divide between them
Highlights, shadows, whites and blacks appear to overlap, and the distinction is one of range. Highlights and shadows act on the broad bright and dark regions of the image while leaving the extremes comparatively alone — they are the controls for recovering a bright sky or opening up a dark foreground without changing where the image's white and black points sit.
Whites and blacks act on the extremes themselves. They set where the image stops: the point above which everything is white, and below which everything is black. Moving them is how you restore contrast to a flat image, and how you deliberately clip when the scene calls for it — a silhouette wants crushed blacks, and a high-key portrait wants the background to go to white.
The order that tends to work is to set the white and black points first, establishing the range the image occupies, and then use highlights and shadows to redistribute the tones within it. Doing the reverse means the extremes move after you have balanced the middle, and the middle has to be balanced again.
Temperature, tint, and the problem of neutral
White balance corrects for the colour of the light that illuminated the scene. Daylight, tungsten bulbs, overcast sky and fluorescent tubes all emit different spectral mixtures, and a camera that assumes the wrong one produces an overall cast: warm and orange under tungsten, cold and blue in shade.
The temperature control moves the image along a blue-to-yellow axis, and tint along a green-to-magenta axis perpendicular to it. Two axes are needed because real light sources do not deviate from neutral along a single line — fluorescent lighting in particular tends to sit off the blue-yellow axis entirely, which is why an image can look correct in temperature and still carry a green cast that only tint will remove. Here both act directly on the channels: temperature adds to red and subtracts the same amount from blue, tint adds to green. It is a correction on the pixels you have, not a reinterpretation of the scene's white point from a Kelvin value — a raw developer can do the second because it still holds the sensor data, and a browser working from a decoded JPEG or PNG cannot.
The reliable method is to correct by reference to something you know should be neutral: a white wall, grey concrete, the whites of an eye, a cloud. Judging the whole image at once is unreliable because the eye adapts to a cast within seconds of looking at it. Pick a neutral reference, correct until it is neutral, then assess the image as a whole.
Saturation and vibrance divide the work differently
Saturation scales the intensity of every colour by the same proportion. It is the blunt instrument, and its characteristic failure is that the colours which were already strong reach full intensity first and stop — a red jacket becomes a flat red shape with no shading — while the subtle colours are still only partly there.
Vibrance is weighted. In this editor the weight is measured per pixel, from how saturated that pixel already is: a fully saturated pixel receives about 30% of the movement, a neutral grey receives all of it, and everything else falls on the line between. That is the whole rule — the weighting reads saturation, not hue, so there is no skin-tone exception built into it. Skin still behaves better under vibrance than under saturation, but for the ordinary reason: skin is rarely the most saturated thing in the frame, so it is rarely what the control moves most.
This makes vibrance the better default for photographs containing people, and saturation the more appropriate control when the intent is a deliberate stylistic shift rather than a correction. The failure mode of over-saturation is specific and recognisable: skin turns orange, foliage turns a uniform electric green, and the image loses the small variations in colour that made surfaces read as surfaces.
( Keep going )
Continue with the right workflow
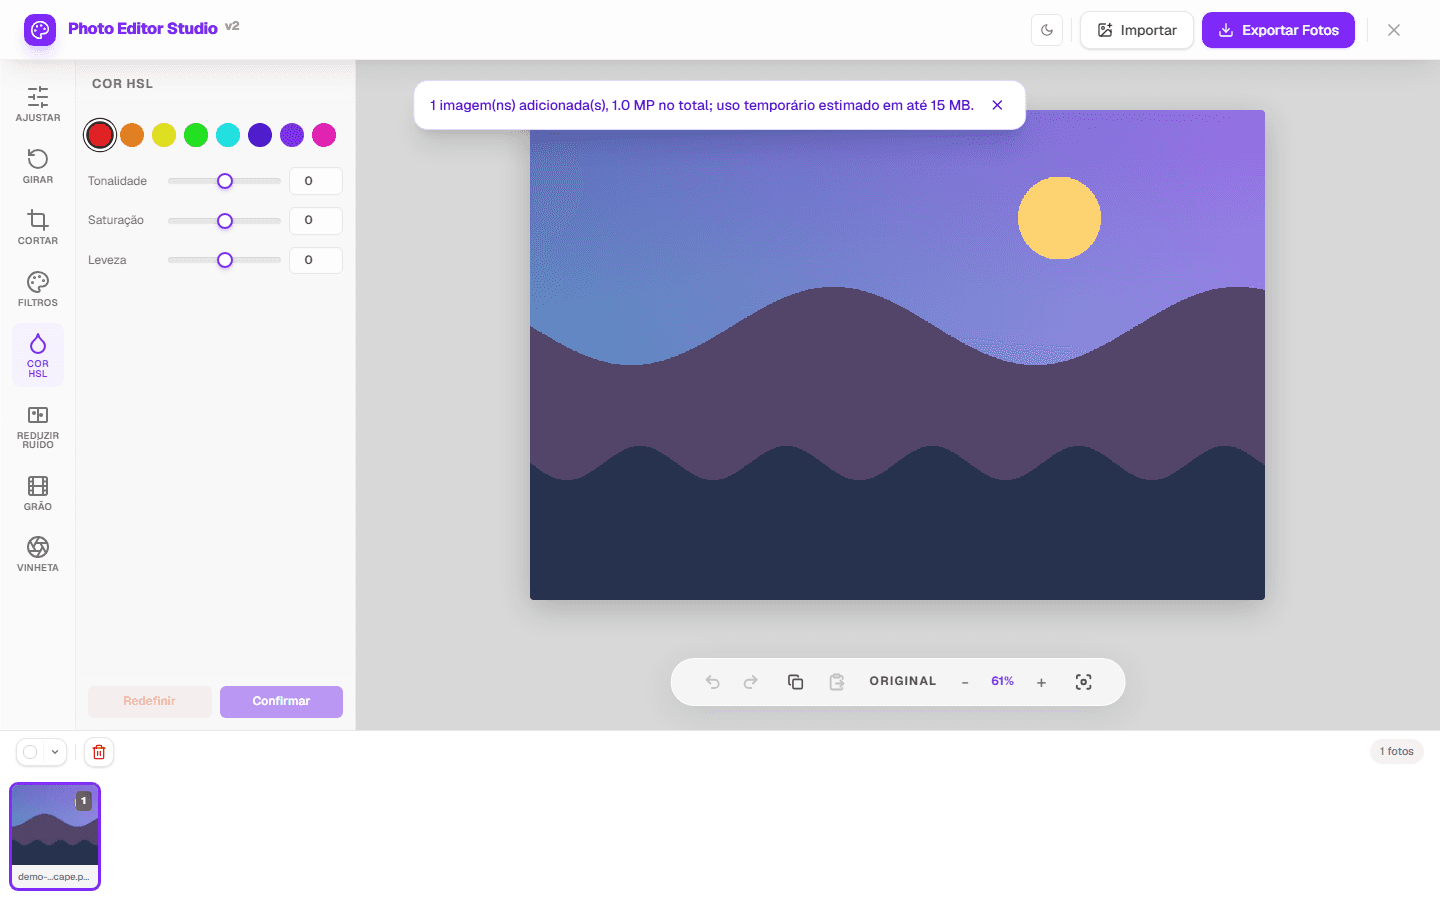
- ( 01 )Adjust HSLRefine color ranges after global corrections.Read
- ( 02 )Crop photoReframe before export.Read
- ( 03 )Brightness and contrast guideFollow a global-correction order with real screenshots.Read
- ( 04 )Format comparisonChoose the output format with measured file size and pixel differences.Read
( Ready when you are )
Make the first correction
Start with exposure and contrast, compare with the original and proceed in small steps.