( Free · in the browser · no sign-up )
Crop and reframe photos online.
Freehand or by aspect ratio. 1:1 for profiles. 16:9 for covers. 9:16 for stories.
Choose the area to keep, select an aspect ratio or crop freely, then inspect the preview before export.
You can also drag and drop one or multiple images in this area.•Accepted inputs: JPEG, PNG, WEBP, GIF and BMP when the browser can decode them. Export is available as JPEG and PNG, and as WEBP when the browser supports that encoding.
Image editing runs in the browser. The site can still make technical requests and, subject to your consent, load measurement or advertising. Read the Privacy Policy.
- 01No installation
- 02In-browser editing
- 03Preview before export
- 04No sign-up
( How it works )
Crop a photo in 3 steps
- ( 01 / 03 )
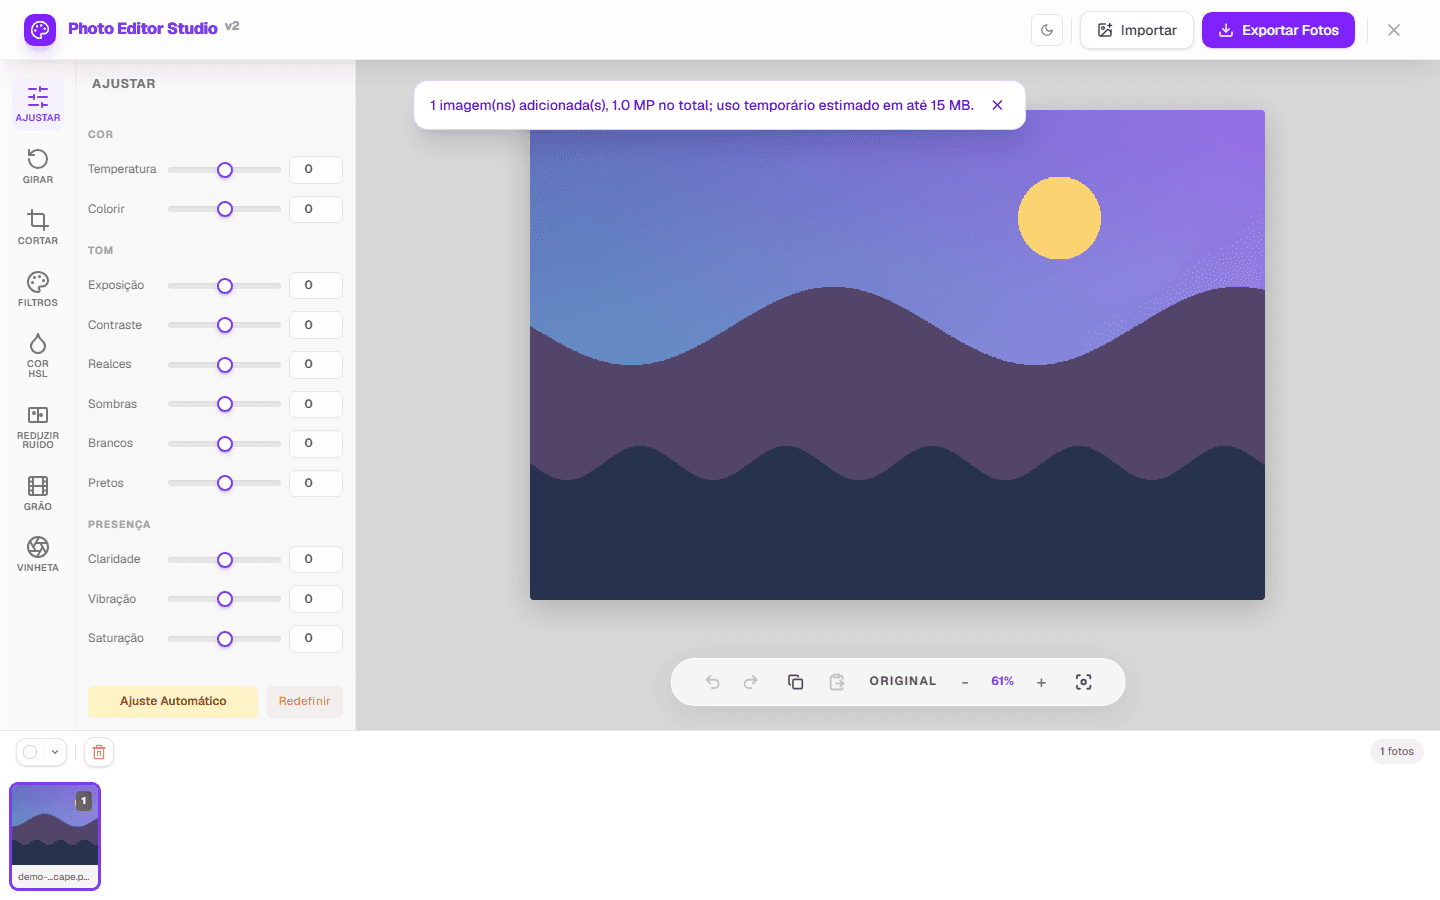
1. Open the image
Choose a compatible file or use the project-owned demo photo.
- ( 02 / 03 )
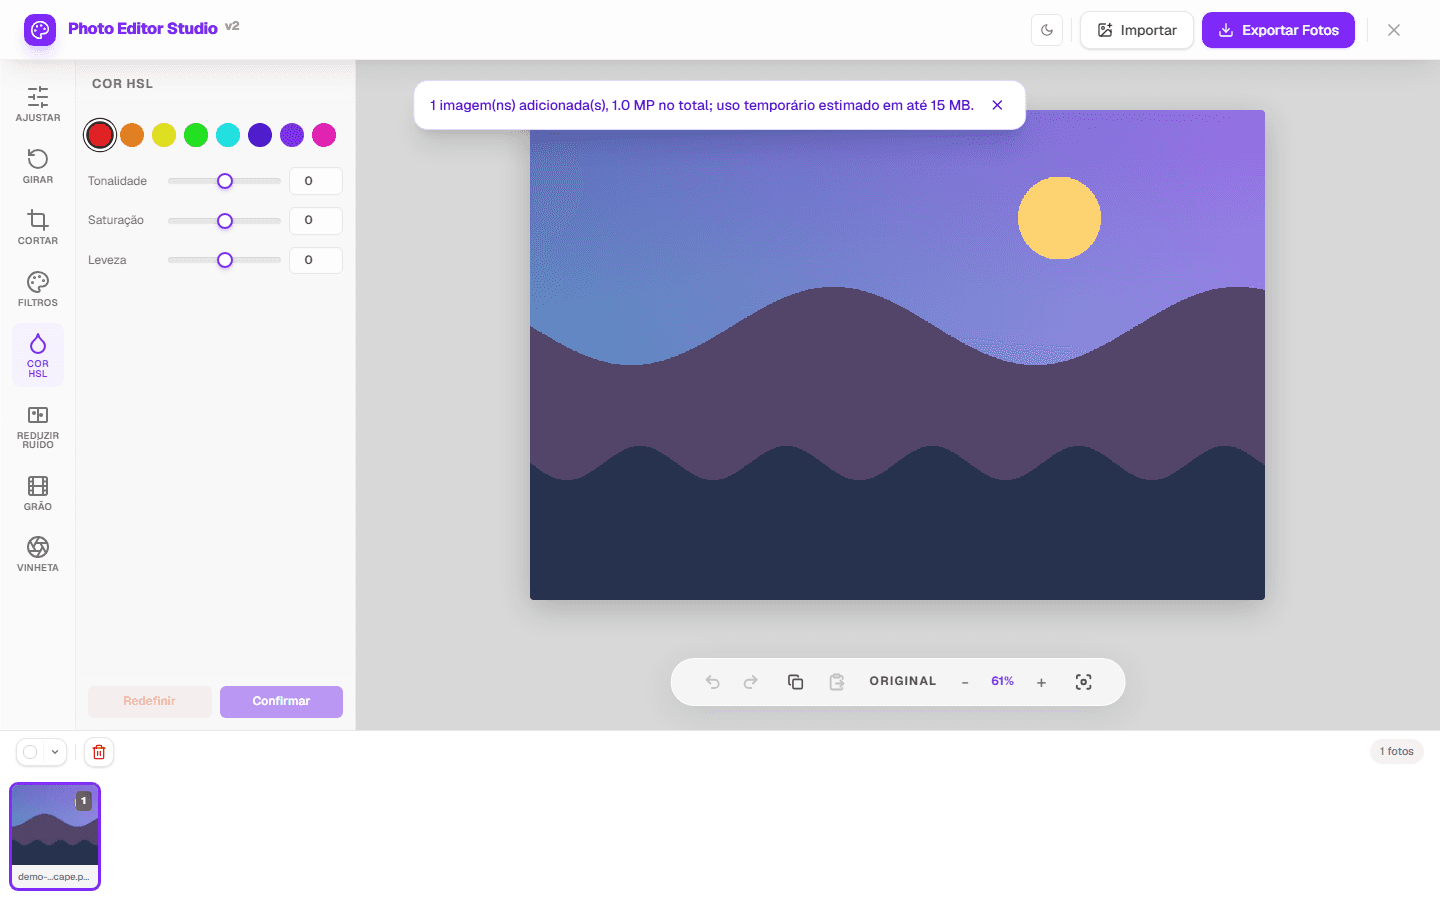
2. Set the frame
Drag the crop area and choose free, original, 1:1, 4:3, 3:2, 16:9 or 9:16.
- ( 03 / 03 )
3. Apply and export
Confirm the crop, inspect the preview and save a new JPEG or PNG copy, or WEBP when the browser supports it.

( The interface )
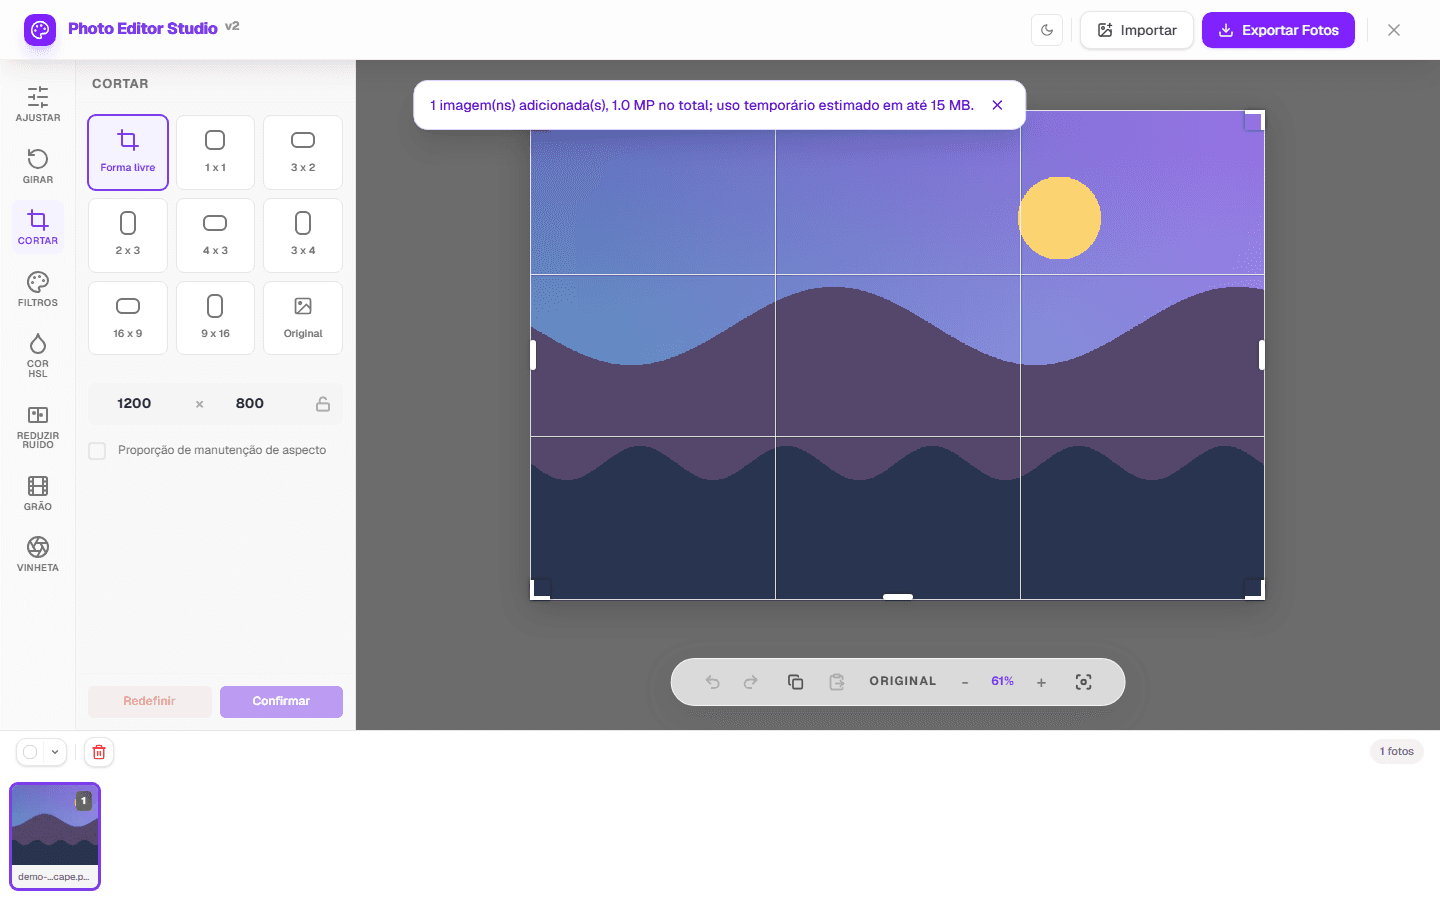
Current tool interface
( What it does )
What the crop panel offers
- 01
Free crop
Adjust the width, height and position of the visible area over the image.
- 02
Aspect-ratio presets
Use the original ratio or common formats including 1:1, 4:3, 3:2, 16:9 and 9:16.
- 03
Entered dimensions
Width and height can be entered within the loaded image bounds.
( What people use it for )
When to crop a photo
- ( 01 )
Reframe a portrait
Remove side areas and reposition the subject without changing the original file.
- ( 02 )
Prepare a thumbnail
Choose a ratio suited to the destination and review the crop visually.
- ( 03 )
Standardize a series
Use one ratio across several images and inspect each frame before export.
( Where your pixels go )
( Local processing )
Where your image is processed
The editing itself happens in your browser. When you open a file, the browser decodes it into pixels held in the page's memory, and every adjustment is a computation performed on those pixels by your own device's processor. Export re-encodes the result and hands it to the browser as a download. The image file is not uploaded to an editing server for any of these steps.
That is a statement about image processing, not about the page as a whole. Loading this page is a network request like any other, and the page can make further requests: fonts, scripts, and — subject to the choice you make in the consent banner — measurement or advertising. Those requests carry the information any web request carries. The distinction matters, and the Privacy Policy sets out what is collected and when.
- Decoding, editing and export run on your device, using the browser's Canvas APIs.
- The image file is not sent to an editing server as part of the editing workflow.
- The page itself is served over the network and can load consented measurement or advertising.
- Closing the tab discards the working copy held in the page's memory.
( Questions? Answered )
Frequently asked questions
What is the difference between crop and resize?
Cropping removes parts of an image. Resizing changes the pixel count of the whole image; resize is available during export.
Which aspect ratios are available?
The current panel offers free crop, original, 1:1, 4:3, 3:2, 16:9 and 9:16.
Is the original file replaced?
No. The crop is applied in the editor session and export creates a new downloaded file.
( In depth )
Cropping as a compositional decision, not a repair
Cropping is the one edit that permanently removes information from a photograph. Everything else — exposure, colour, sharpening — redistributes what the sensor recorded. A crop discards it. That makes it worth understanding what you are spending when you drag the frame inward, and what you are buying with it.
The resolution budget you spend on every crop
An image has a fixed number of pixels, and cropping is subtraction from that total. The arithmetic is less forgiving than it looks, because the loss is two-dimensional: trimming 20% from the width and 20% from the height leaves 64% of the original pixel count, not 80%. Trim a third from each side and you are left with 44%. A 24-megapixel frame cropped to half its width and half its height is a 6-megapixel frame.
This is the number that determines whether a crop is safe for its destination. A photograph destined for a 1,000-pixel-wide column on a web page has enormous headroom: it can lose three quarters of its linear dimensions and still exceed what the layout needs. The same photograph destined for a printed page at 300 pixels per inch has far less, and a crop that looked harmless on screen can push the file below what the print needs. Decide the destination before the crop, not after.
The loss is also irreversible in a specific sense worth stating plainly: enlarging a cropped image later does not recover detail. Interpolation invents intermediate pixels by reading their neighbours, which produces a larger file and a softer image. It does not reconstruct what the crop discarded, because that information no longer exists in the file.
Why aspect ratios are conventions, and where they came from
The ratios offered in most crop tools are inherited rather than designed. 3:2 is the shape of a 35mm film frame, which itself came from Oskar Barnack running cinema film horizontally through a still camera in the 1910s — doubling the width of the standard motion-picture frame and producing the 36×24mm negative that defined small-format photography for a century. 4:3 arrived from early cinema and was carried into television, then into digital compact cameras and most smartphone sensors.
16:9 was chosen in the 1980s as a deliberate compromise. When widescreen television was being standardised, the existing material ranged from 4:3 television to 2.35:1 anamorphic cinema, and 16:9 sits close to the geometric mean of that range — the shape that wastes the least area when everything else has to be fitted into it. 9:16 is simply that frame rotated, and became common only because phones are held upright.
1:1 has the longest and least technical history. Square formats came from medium-format cameras whose waist-level finders had no obvious orientation, and the shape persisted because it removes a decision: there is no portrait-or-landscape choice to make. Its recent ubiquity is a platform convention rather than an optical one.
What the rule of thirds actually claims
The familiar advice is to place the subject on one of the lines dividing the frame into thirds. It is worth being precise about the status of this rule: it is a convention with a long history in painting and photography, not a finding about human vision. The often-repeated link to the golden ratio is a later rationalisation — the thirds grid is 0.333, the golden section is 0.382, and the two are different numbers that happen to be near each other.
What the convention does reliably is prevent a specific failure. A subject placed exactly in the centre of a frame divides the remaining space into two equal halves, and equal divisions carry no visual information — nothing about the composition tells the viewer where to look next, so the eye tends to settle and stop. Off-centre placement creates unequal spaces, and the inequality itself suggests direction and movement.
This also explains when to ignore the rule. Symmetrical subjects — architecture shot straight on, reflections, portraits composed for confrontation rather than narrative — depend on the centre for their effect, and pushing them off-centre weakens the image. The thirds grid is a default that works when you have no stronger reason, not a constraint.
Cropping for the edges, not only the subject
Most crops are made by looking at the subject and pulling the frame toward it. The more useful habit is to look at what the new edges do. An edge that passes through a person's wrist, ankle or elbow reads as an amputation, because the viewer's eye completes the missing limb and notices its absence. Edges placed through the forearm or the thigh — away from the joint — read as a frame rather than a cut.
The second thing the edges control is the relationship between the subject and the space around it. A subject looking or moving toward the left of the frame usually wants more space on that side; the space reads as the direction of travel or attention, and compressing it makes the composition feel constrained. This is sometimes called leading room, and it is one of the few compositional conventions that survives across portrait, sport and street photography alike.
The third is the horizon, which the crop frame will reveal even when the subject looks fine. A horizon within a couple of degrees of level reads as a mistake rather than a choice, because the viewer knows what level looks like and the small deviation registers as carelessness. Correct the angle before setting the final frame, since rotating afterwards will require cropping again.
The order that avoids doing the work twice
Crop position depends on orientation, so correcting a tilted horizon after setting the frame will move the edges and force a second crop. Rotate first, then crop. Tonal and colour work is different: it is largely independent of framing, and can be done before or after, though doing it after the crop means the adjustments respond to the pixels you are keeping rather than to areas you are about to discard.
Export sits at the end for a practical reason. Encoding to JPEG re-compresses the image, and each round of decoding and re-encoding is another opportunity for compression artefacts to accumulate. Making the crop, the rotation and the tonal decisions within one editing session and exporting once produces a cleaner result than exporting between each step.
( Keep going )
Continue with the right workflow
- ( 01 )Rotate before croppingCorrect orientation before refining the frame.Read
- ( 02 )Adjust light and colorFinish the image after setting its composition.Read
- ( 03 )Cropping guideFollow a detailed workflow with product examples.Read
- ( 04 )Format comparisonChoose the output format with measured file size and pixel differences.Read
( Ready when you are )
Set a new frame
Open the photo, choose the area to keep and inspect the preview before export.