( Free · in the browser · no sign-up )
Add a vignette to photos online.
Intensity. Radius. Softness. Darker edges. Subject first. Cinematic mood.
Darken the edges of your photo gradually toward the center — guiding the viewer's eye to your subject with one of photography's most enduring compositional techniques. Control the intensity, radius, and softness of the vignette independently, watch the result update in real time, and export in seconds. No sign-up required, and your photo is not sent to an image-processing server at any point in the process.
You can also drag and drop one or multiple images in this area.
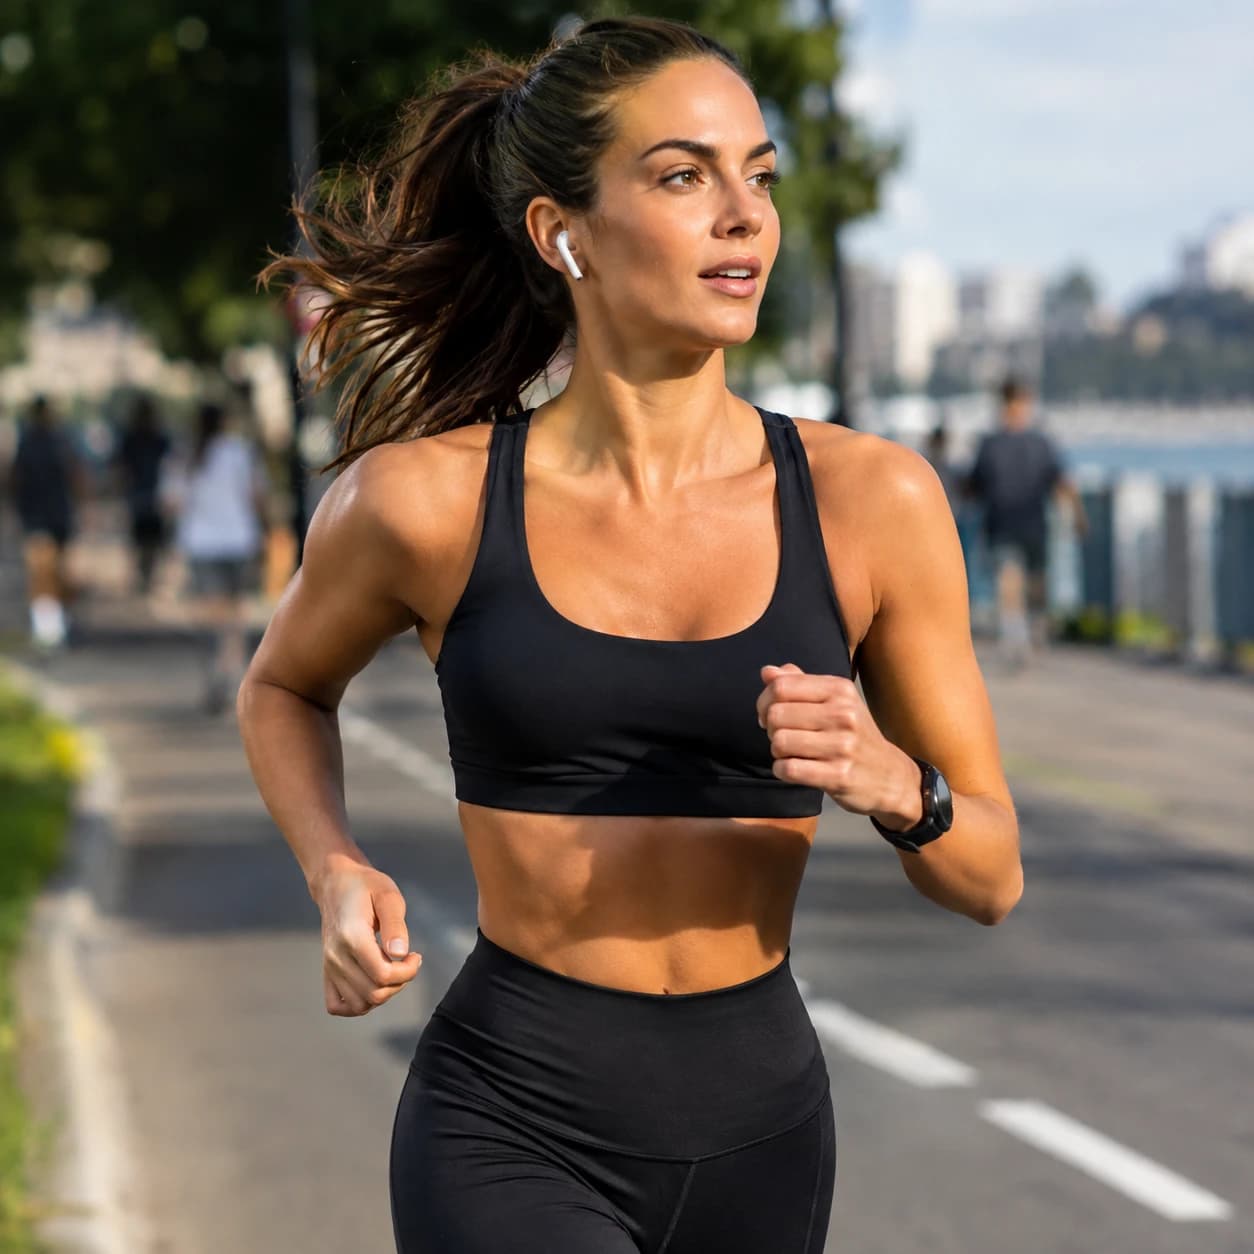
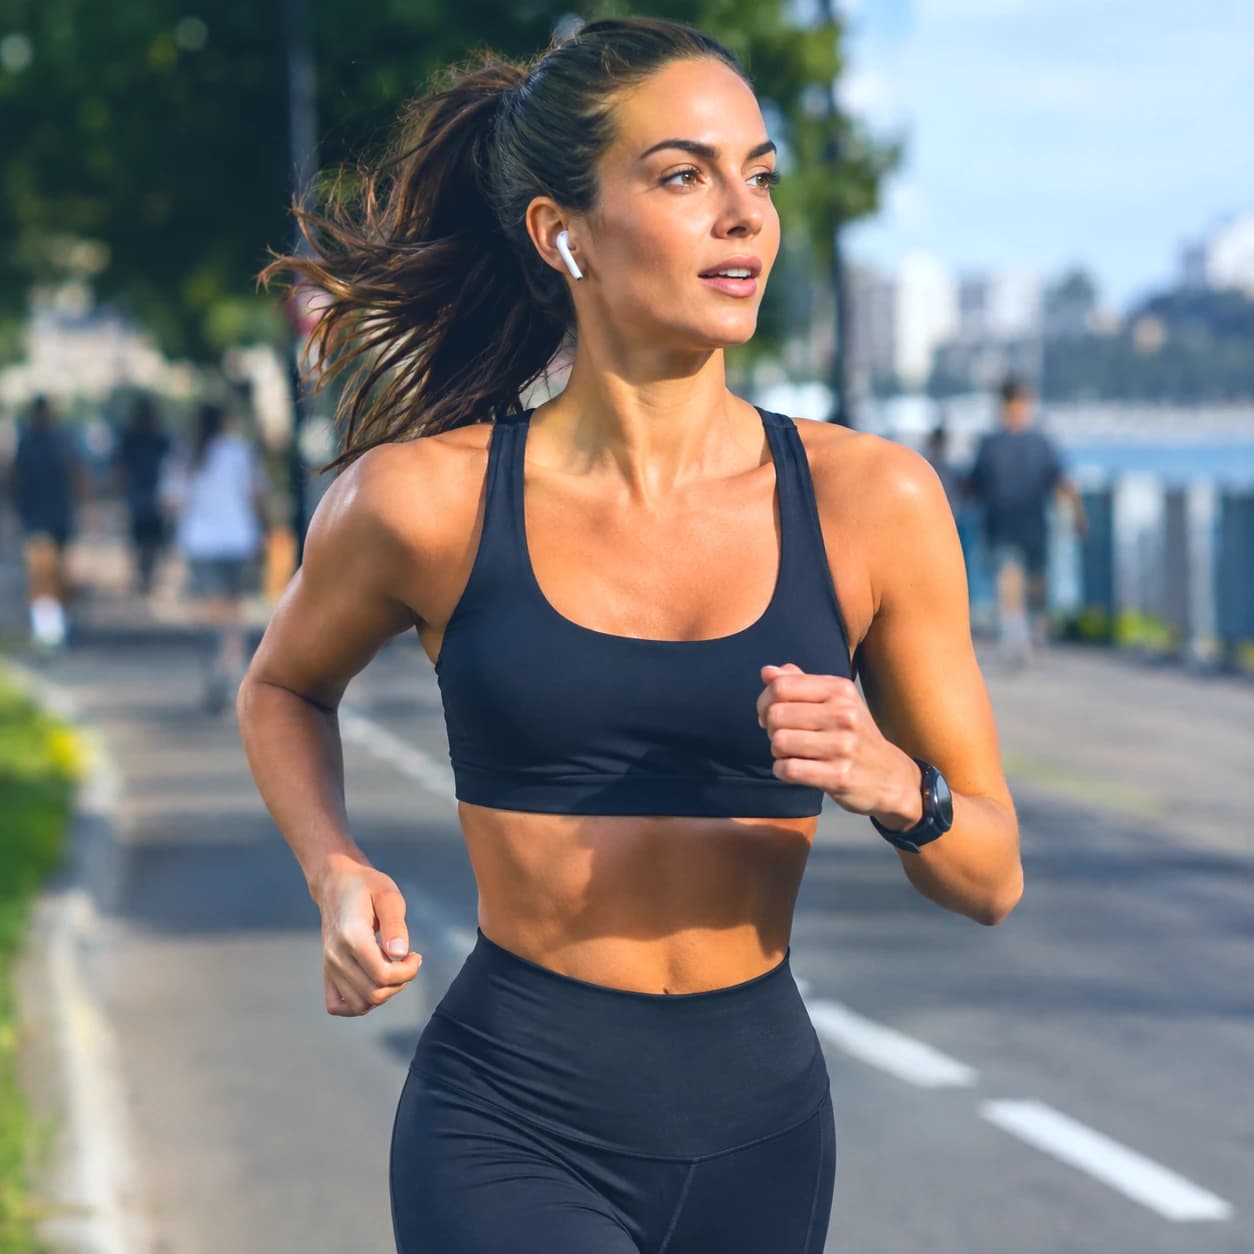
- 01100% Free
- 02No Sign-Up
- 03local file processing
- 04No Watermarks
( What it is )
Our Free Online Vignette Tool lets you apply one of photography's most classically effective compositional techniques directly in your browser — with three independent controls (intensity, radius, and edge softness) that give you the range to create a barely perceptible mood enhancement at subtle settings or a pronounced, cinematic edge darkening at dramatic settings. The vignette has been used in portrait, editorial, film, and fine art photography for over a century precisely because it exploits a fundamental property of human vision: the eye naturally gravitates toward the brightest area of a scene. By darkening the periphery, the vignette amplifies that tendency and gives your subject more visual authority without changing anything about the subject itself. All processing runs locally in your browser via Canvas API, with no upload to an image-processing server.
( How it works )
How to Add a Vignette to a Photo in 3 Steps
No account or application installation is required. Adjust the vignette in the preview, then export the result.
- ( 01 / 03 )
Upload Your Photo
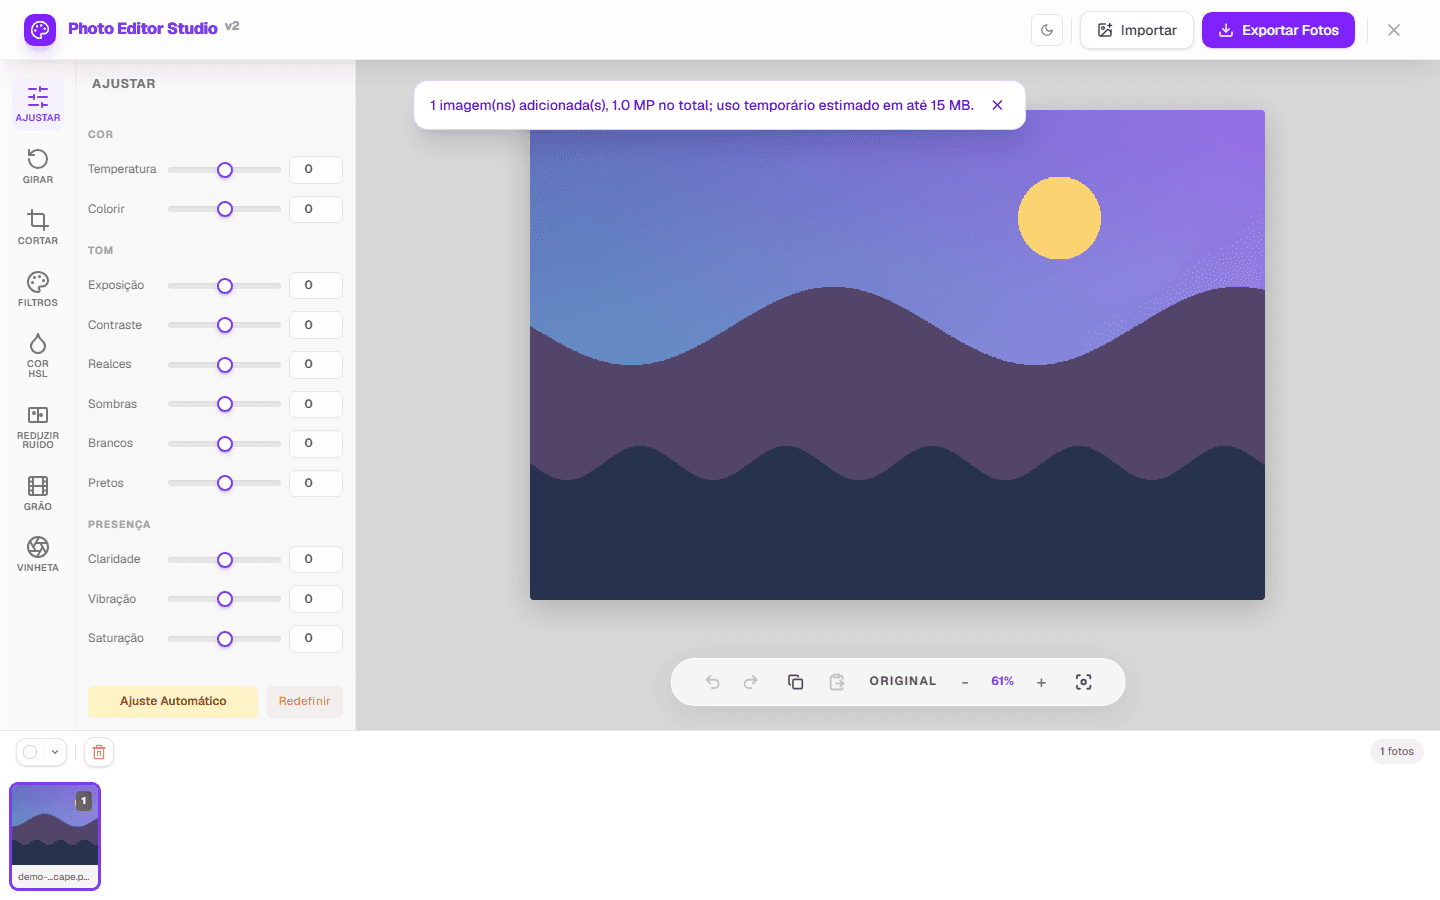
Click "Add Vignette Now" or drag your file directly into the upload area. Supported formats: JPEG/PNG, and BMP. The file is loaded entirely on your device via the browser's File API — no data is transmitted to any server at any point during this step. The image renders immediately in the editor at full resolution, ready for vignette adjustment.
Step 1
- ( 02 / 03 )
Adjust Intensity, Radius & Softness
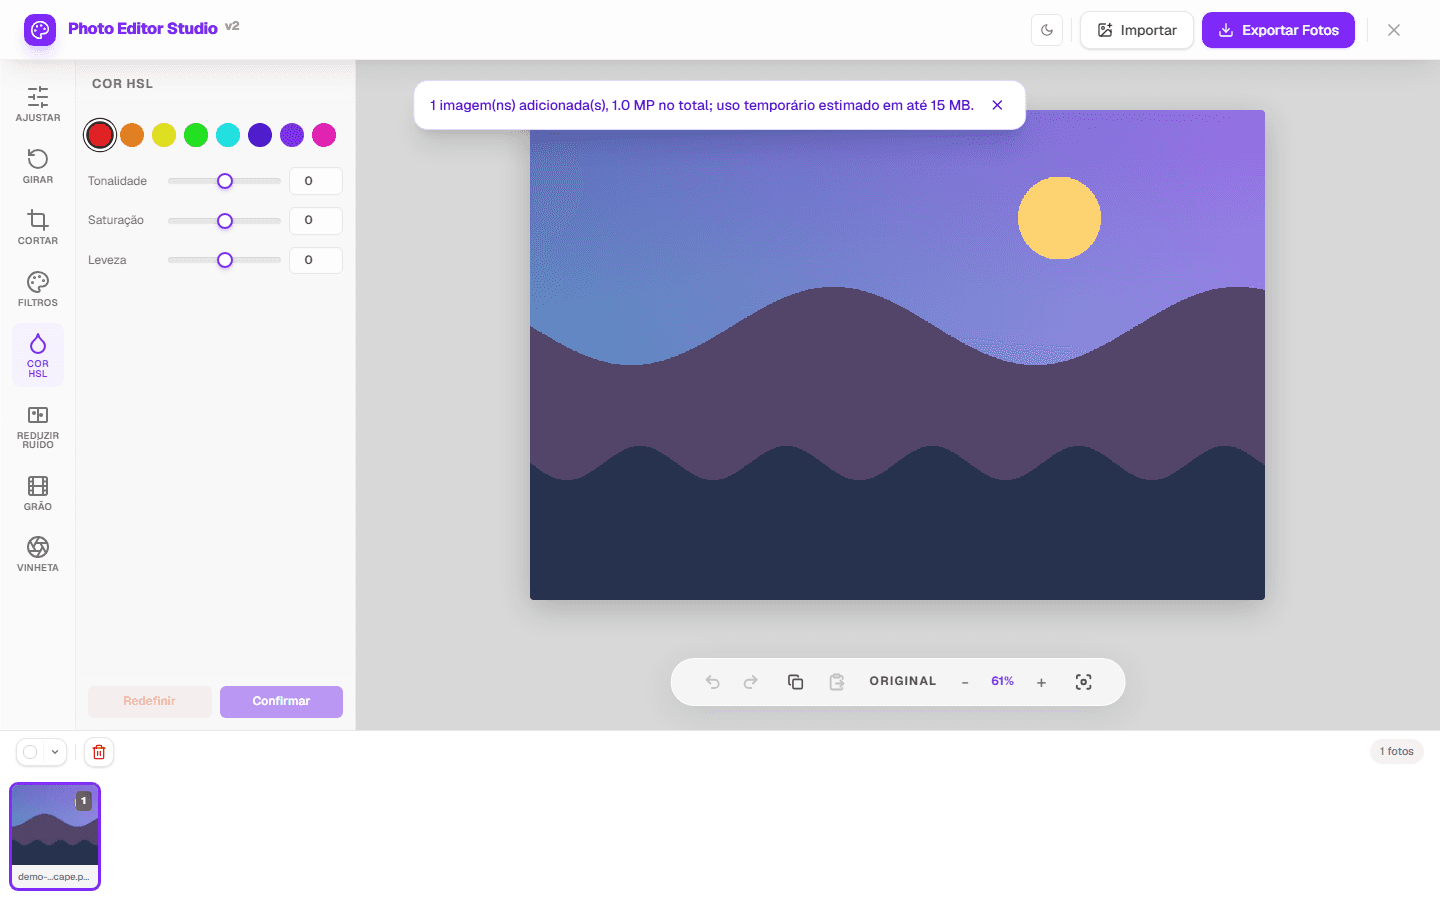
Three independent sliders control the vignette: Intensity sets how dark the edges become; Radius determines how far the darkening extends from the edges toward the center of the frame; Softness controls the transition gradient between the darkened edges and the bright central area. For subtle portrait vignettes, use low intensity (15–30%), high softness, and a wide radius. For cinematic or dramatic effects, increase intensity and reduce softness. Every adjustment updates the preview in real time — toggle the before/after view at any point to compare the result against the original.
Step 2
- ( 03 / 03 )
Export & Download
Once the vignette looks exactly right, click "Confirm" and then "Export". Choose your output format — JPEG/PNG — and set the quality level. Your photo with vignette downloads to your device after processing completes. No watermark is added, no registration prompt appears, and no data is uploaded to any server at any point in the process.
Step 3

( What people use it for )
Vignette for Every Creative Context — Portraits, Cinematic, Thumbnails & More
Portrait & People Photography
The vignette is the most widely used post-processing technique in advanced portrait photography for one specific reason: it works with the natural behavior of the human eye rather than against it. In any scene, the eye moves first toward the brightest area and toward high-contrast edges. In a portrait where the background is equally bright as the subject, the viewer's eye wanders — exploring the background, the corners, the space — rather than settling on the face. A vignette addresses this directly by reducing the brightness of the peripheral areas, creating a relative brightness differential that pulls the eye toward the subject without any visible manipulation. At low intensity with high softness, the effect is imperceptible to a viewer but measurable in where their eye travels. The result feels natural rather than edited — which is exactly the goal.
Cinematic & Fine-Art Photography
In cinema and fine-art photography, the vignette functions differently from its role in portrait retouching — not as an invisible aid to composition but as a visible aesthetic statement. The pronounced, visible vignette that defines the frame with darkened edges references the optical characteristics of early anamorphic lenses, which produced heavy natural vignetting at wide apertures, and the aesthetic of analog film photography, where optical and chemical vignetting was a common characteristic of prints made with wide-angle lenses. Recreating this look intentionally — with higher intensity, lower softness, and a tighter radius — communicates a specific aesthetic vocabulary that audiences associate with cinematic quality, vintage photography, and film production values. The effect signals that the image was composed with intention rather than captured casually.
Thumbnails, Covers & Digital Content
In the context of digital content — YouTube thumbnails, podcast covers, blog article headers, social media graphics — the vignette serves a practical attention-directing function. When a thumbnail contains a face, text, and a background, the viewer's eye needs guidance about which element to focus on first. A vignette that darkens the background and corners while leaving the face or the text bright creates that hierarchy of attention automatically, without requiring complex masking or compositing. At moderate settings, the effect works across all screen sizes and at the small dimensions at which thumbnails are typically displayed — the darkening remains visible and functional even when the image is rendered at 100x56 pixels, which is the minimum size at which YouTube displays thumbnails in search results.
( What it does )
What the Vignette Tool Can Do — All Controls, All Free
- 01
Adjustable Intensity (0–100%)
Controls how dark the vignette edges become. At 0% the effect is completely invisible — no darkening applied. At 100% the edges are at maximum darkness. The range in between gives you precise control over whether the vignette is a subtle compositional aid or a pronounced visual statement. For most portraits, 15–35% intensity produces natural-looking results that guide the eye without being noticeable.
- 02
Customizable Radius
Determines how far from the center the vignette darkening begins. A large radius means the darkening starts close to the center of the frame and affects a significant portion of the image. A small radius confines the darkening to the outermost corners and edges, leaving most of the image at full brightness. The radius setting is the primary tool for controlling how much compositional influence the vignette has on the image.
- 03
Edge Softness & Transition Gradient
Controls the transition between the dark vignette edges and the bright center area. High softness produces a smooth, gradual gradient that is barely perceptible and gives the image a natural look. Low softness produces a sharper, more defined boundary between the bright center and the dark edges — a look associated with vintage photography and analog film printing. Softness is the parameter that most determines whether a vignette reads as a subtle compositional tool or a deliberate aesthetic choice.
- 04
Real-Time Preview & Before/After
Every slider adjustment — intensity, radius, or softness — updates the preview in real time with no delay or separate render step. Toggle the before/after view in the live preview to compare the current vignette settings against the original unedited photo. Both views are available without reprocessing because the original and the vignette-applied versions are held simultaneously in available memory.
- 05
100% Browser-Based Processing
The vignette is computed as a Canvas pixel operation that generates a radial gradient mask and applies it to the image as a darkening overlay. The entire computation — gradient generation, mask application, and canvas rendering — runs on your device. No file is uploaded, no server is contacted, and the processing works even if your internet connection drops after the page loads.
- 06
Integrated with the Full Editor
Add the vignette as the final step of a complete editing workflow — after applying brightness, contrast, white balance, HSL color corrections, and artistic filters — all within the same editor session. The vignette is most effective when applied to a tonally correct image: the compositional function of edge darkening works better when the overall brightness and color of the image are already optimized.
( Why in the browser )
Why Add a Vignette in the Browser Instead of a Desktop Editor?
Lightroom's Post-Crop Vignetting panel, Photoshop's lens correction tools, and dedicated compositing applications all include vignette controls — but accessing them requires installation, a subscription, and a full application workflow. For adding a vignette to a single photo, a browser-based tool that opens in seconds and processes locally is faster and more practical from start to finish.
- ( 01 )
Three independent parameters, full creative control
Most simple vignette tools offer a single strength slider that controls all aspects of the effect simultaneously. Intensity, radius, and softness are different properties of the vignette that serve different compositional purposes — and they need to be controlled independently to dial in the right look for any specific image. A portrait needs different radius and softness settings than a landscape; a thumbnail needs different intensity than a fine-art print. The three-parameter control in this tool gives you the flexibility to create the exact vignette the image requires.
- ( 02 )
Subtle to dramatic — the full range in one tool
The same tool that creates the barely-perceptible portrait vignette at 15% intensity also creates the pronounced cinematic edge darkening at 85% intensity. This range — from a subtle mood enhancement that most viewers will not notice to a dramatic compositional frame that defines the aesthetic character of the image — is available within a single slider, without switching between different modes or presets. The real-time preview makes it easy to move along this range and stop precisely where the effect serves the image.
- ( 03 )
Real-time preview with before/after toggle
Vignette adjustments are easier to evaluate when you can compare the effect directly against the original rather than relying on memory. The before/after toggle in this tool lets you in the live preview compare the current vignette settings against the unedited image — at any point during the adjustment process, without committing to export. This is especially useful when setting the softness parameter, where the perceptual difference between high and low softness values is most apparent in direct comparison.
- ( 04 )
Browser-based image processing
The vignette calculation runs in browser memory and the selected photo is not sent to an image-processing server. The page can still make network requests for site services and dependencies, so the product is not presented as a fully offline application.
- ( 05 )
Combine with filters and color adjustments
The vignette is rarely applied in isolation in a detailed photo edit. It works best as the final step after tonal and color corrections have been applied — once the brightness, contrast, and color are correct, the vignette refines the composition. Apply the vignette alongside vintage film filters, HSL color channel adjustments, brightness and exposure corrections, and grain effects — all within the same editor session, without switching tools or re-uploading between steps.
- ( 06 )
Free, private, no subscription
The current vignette parameters — intensity, radius, softness — require no subscription and no sign-up, and add no watermark to the exported image. The effect is processed in your browser; the page itself can still make network requests for site resources and services. Capacity depends on the device and the file.
( Other tools )
More Free Photo Editing Tools
Explore the full suite of free tools to enhance your photos — all browser-based, no install needed.
( Where your pixels go )
( Technology & Privacy )
How the Vignette Effect Works Locally — Technology & Privacy
At PhotoEditor.Studio, the vignette effect is computed entirely inside your browser using a Canvas pixel operation and the Web Canvas API. When you adjust the intensity, radius, or softness sliders, the browser generates a radial gradient mask — a mathematical function that produces a value of 1.0 (full brightness) at the center of the image and decreases toward 0.0 (maximum darkening) at the edges according to the radius and softness parameters — and applies this mask to the image by multiplying each pixel's brightness by its corresponding mask value. This entire computation runs on your device in real time, with no image data transmitted over the network at any stage.
No Upload at Any Stage
The photo you select is read into browser memory locally via the File API and passed to browser memory for Canvas API rendering. It is never transmitted over the network — not when you select the file, not when you adjust any vignette parameter, not when you toggle the before/after preview, and not when you export. The tool also functions without an internet connection once the page has loaded — all processing is entirely local.
Radial Gradient Mask via Canvas API Shader
The vignette is implemented as a pixel-processing routine that computes a radial distance function for each pixel — the distance from the pixel's position to the center of the image, normalized to account for the aspect ratio of the frame. This distance value is passed through a smoothstep function parameterized by the radius and softness values, producing the gradient mask. The mask is then applied to the image by modulating each pixel's luminosity in a multiply blend mode — the same mathematical operation used in advanced compositing applications.
No Account or Image Upload
No email or login is required. Image files are processed in browser memory and are not sent to an image-processing server. Aggregate site metrics and optional analytics are described in the Privacy Policy.
Local Processing Engine
Native Canvas API Technology
> Loading image into browser memory...
> Computing radial gradient mask (radius: 0.7, softness: 0.85)
> Applying darkening mask via multiply blend...
> Rendering vignette result to canvas...
> Done. No data transmitted.
( Questions? Answered )
Frequently Asked Questions About Adding a Vignette to Photos Online
Answers about adding and adjusting a vignette effect with PhotoEditor.Studio.
What is a vignette effect in photos?
A vignette is a gradual darkening of the edges and corners of a photo that fades toward the center. It draws the viewer's eye toward the brightest, central area of the image by reducing the visual weight of the peripheral areas. The effect originated as an optical artifact of early photographic lenses and was later adopted as a deliberate compositional technique in portrait, fine-art, and cinematic photography.
What is the difference between intensity, radius, and softness in a vignette?
Intensity controls how dark the edges become — at 0% the effect is invisible, at 100% the edges are very dark. Radius controls how far the darkening extends from the edges toward the center — a small radius creates tight corner darkening, a large radius brings the darkening deeper into the frame. Softness controls the transition gradient between the dark edges and the bright center — high softness produces a smooth, invisible fade; low softness produces a sharper, more dramatic gradient.
How do I add a vignette to a portrait photo online for free?
Upload your portrait photo (JPEG/PNG) to PhotoEditor.Studio and open the vignette tool. Start with low intensity (20–35%), high softness, and a wide radius that positions the darkening near the outer edges of the frame. Toggle the before/after preview to verify the effect guides the eye toward the subject without being visibly noticeable. Click Confirm and Export when the result looks right. No account, no upload to any server, no watermark.
Should a vignette be visible or invisible?
For portrait and documentary photography, the most effective vignettes are invisible — they guide the viewer's attention without drawing attention to themselves. Use low intensity (15–30%), high softness, and a wide radius. For cinematic and artistic photography, a visible vignette is a deliberate aesthetic choice — use higher intensity, lower softness, and a tighter radius to create the pronounced edge darkening that references analog film aesthetics.
Is my photo uploaded to an image-processing server when I add a vignette?
The selected image is processed in browser memory and is not posted to an image-processing endpoint. The page can still use network services for analytics, consent, advertising or dependencies as described in the Privacy Policy.
Does the vignette effect work on mobile phones and tablets?
Yes. The vignette tool is fully responsive and works on iOS Safari, Android Chrome, Firefox for Android, and all modern mobile browsers. The intensity, radius, and softness sliders are touch-optimized and update the preview in real time as you drag them on a touchscreen. No app download required — open the page in your mobile browser and start adding vignettes immediately.
( In depth )
Understanding the Vignette — History, Psychology, and How to Use It Intentionally
The vignette is one of the oldest intentional compositional techniques in photography — and one of the most misused. Understanding where it comes from, why it works psychologically, and what distinguishes a well-applied vignette from an obvious one helps you use it with more precision and better results.
The optical origin of the vignette
The photographic vignette did not begin as an intentional artistic choice. It originated as a physical limitation of early photographic lenses. In the early history of photography, lenses were designed with less optical precision than modern optics, and they produced significantly less exposure at the edges and corners of the frame than at the center. This uneven exposure — lighter at the center, darker at the edges — was a side effect of the lens design and the circular shape of the image circle projected by the lens onto the film or plate.
Photographers first encountered the vignette as a problem to be solved. Over time, however, many photographers began to appreciate the compositional effect it produced: the bright center naturally drew the eye, and the darkened edges created a sense of focus and contained the viewer's attention within the frame. By the late nineteenth century, portrait photographers were deliberately applying vignettes to their prints — not as a corrective measure but as an aesthetic choice — using darkroom techniques to darken the borders of a print while protecting the central area from development.
The psychology of vignetting: why it directs attention
The effectiveness of the vignette as a compositional tool is rooted in the fundamental behavior of human visual attention. The human eye, like any optical system, responds to brightness gradients — it is drawn toward bright areas and away from dark ones. In a uniformly lit image, the viewer's eye wanders freely across the frame, exploring edges and corners as easily as the center. This free exploration can be desirable in some contexts — documentary, reportage, and landscape photography often benefit from giving the viewer's eye freedom to move through the image. In portrait and product photography, however, this wandering can undermine the image's purpose: the viewer's eye is exploring the background instead of engaging with the subject.
The vignette redirects this tendency by creating a brightness gradient that favors the center of the frame. The darkened edges have less visual weight — they attract less attention — and the viewer's eye naturally gravitates toward the brighter central area where the subject is placed. This effect does not require the viewer to consciously notice the darkening: at low intensity and high softness, the vignette is below the threshold of conscious perception but still influences the path the eye takes through the image. The viewer simply finds themselves looking at the subject without understanding why the image feels so focused.
The invisible vignette: settings for natural-looking portraits
The most effective application of the vignette in portrait photography is one that cannot be seen. A vignette that draws attention to itself as a darkening effect at the corners has been applied too aggressively — it reminds the viewer that the image has been processed and breaks the illusion of a naturally captured moment. The settings that produce an invisible but effective vignette are: low intensity (15–30%), high softness (above 80%), and a wide radius that confines the darkening to the outermost 20–30% of the frame. At these settings, the edge darkening is present and measurably influences the viewer's attention, but it reads as a naturally lit scene rather than a processed image.
The test for an invisible vignette is the before/after comparison. On the "before" version, the eye explores the corners and background. On the "after" version, the eye settles more quickly on the subject. If the viewer can identify where the vignette is on the "after" version without toggling back to the "before" — if they can see the darkening as darkening rather than just feeling drawn toward the center — the intensity or softness settings need adjustment.
The visible vignette: settings for cinematic and artistic use
For cinematic and artistic photography, the visible vignette is not a mistake but a deliberate aesthetic statement. The pronounced edge darkening of the visible vignette references a specific visual vocabulary: the optical characteristics of vintage anamorphic lenses, the darkroom aesthetics of fine-art print making, and the stylized look of certain genres of film and television. In these contexts, the viewer is expected to notice the vignette — it is part of the image's aesthetic identity rather than an invisible compositional aid.
The settings for a visible, intentional vignette are opposite to those for the invisible portrait vignette: higher intensity (50–80%), lower softness (below 50%), and a tighter radius that brings the darkening further into the frame. The sharper edge transition created by lower softness makes the gradient more apparent to the viewer. At these settings, the vignette communicates aesthetic intentionality — it signals that the image was composed and processed with a specific look in mind, drawing on the visual heritage of analog photography and cinema.
Vignette vs. brightness reduction: an important distinction
A common mistake in applying vignettes is confusing edge darkening with overall brightness reduction. A vignette should darken the periphery while leaving the central subject area at its original brightness — not reduce the brightness of the entire image including the subject. This distinction matters for the compositional function: the vignette works by creating a relative brightness differential between the center and the edges, not by making the image darker overall.
If the subject in the center of your photo appears darker after applying the vignette, the radius is set too small — the darkening mask is overlapping the subject area. Increase the radius to push the darkening back toward the edges, until the subject remains at full brightness and only the peripheral areas are affected. This is the parameter adjustment that most improves the quality of a vignette that looks "wrong" — the image appears over-processed not because the intensity is too high but because the radius is encroaching on the subject.
( Ready when you are )
Ready to Add Cinematic Focus to Your Photo?
Use PhotoEditor.Studio to add advanced vignette effects — fast, free, and processed locally on your device. Create an invisible portrait vignette or a dramatic cinematic frame — with full control over intensity, radius, and softness. No account required. No watermark on your results. Your photo is not sent to an image-processing server.